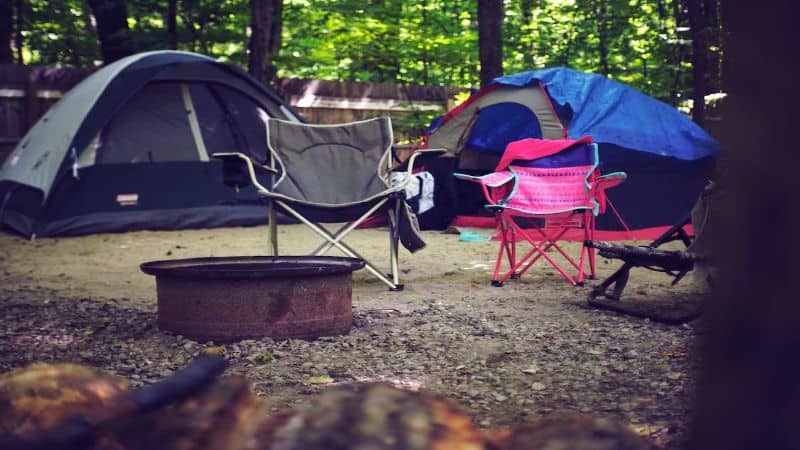
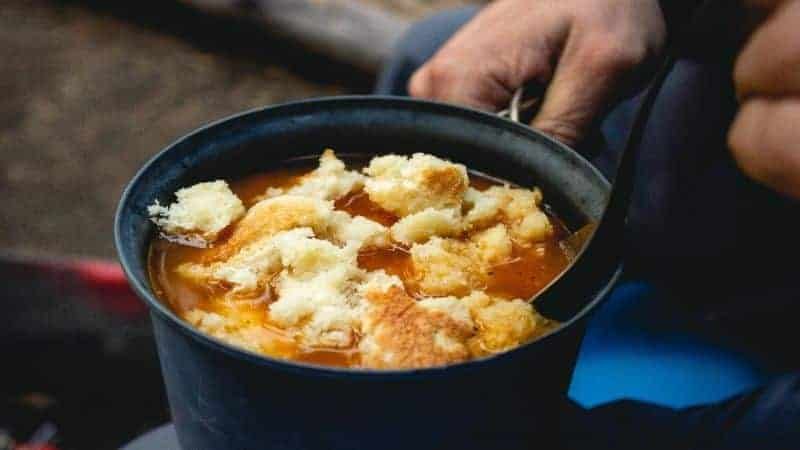
There’s something magical about baking bread over a campfire. The crackling flames and the smell of fresh bread wafting through the air create an unforgettable experience. Whether you’re out in the wilderness or just enjoying a backyard bonfire, this age-old method brings a sense of adventure to a simple staple.
Understanding Campfire Cooking
Campfire cooking offers an exhilarating chance to connect with nature while preparing delicious meals. Getting the fundamentals right enhances the experience, making it both enjoyable and safe.
The Basics of Campfire Heat
Campfire heat varies based on the size of the fire, positioning of the cookware, and type of fuel. I’ve learned to categorize the heat zone:
- Direct heat: This intense heat cooks food quickly, ideal for searing meats or baking bread directly over flames.
- Indirect heat: This gentler heat surrounds your cookware, perfect for slow-cooking dishes or simmering soups.
- Coals: Once the flames die down, hot coals provide steady, consistent heat. Moving pots and pans to this area often leads to even cooking without burning.
Understanding these zones ensures I achieve the desired results without overcooking or burning food.
Safety Precautions for Campfire Cooking
Safety is key when cooking over a campfire. Taking a few simple precautions keeps the experience enjoyable and prevents accidents.
- Locate the fire area: I always set up my fire at least 10 feet away from tents, trees, and brush to minimize the risk of wildfires.
- Use sturdy cookware: I prefer using cast iron or heavy-duty aluminum for their durability and heat retention.
- Keep water nearby: Having water or a fire extinguisher within reach quickly addresses any flare-ups or emergencies.
- Supervise the fire: I never leave the fire unattended. Monitoring the flames ensures I can manage the heat properly and keep it contained.
By adhering to these safety measures, I ensure a pleasant and worry-free campfire cooking experience.
Preparing Your Ingredients
Gathering the right ingredients is the foundation of a successful campfire bread experience. Fresh and simple ingredients bring the flavors to life, making the baking process a rewarding adventure.
Essential Ingredients for Campfire Bread
- Flour: Use all-purpose flour or bread flour for the best results. Aim for about 4 cups for a standard recipe.
- Water: Fresh water’s crucial for activating yeast. You’ll need around 1.5 cups, warmed to about 110°F.
- Yeast: One packet (about 2.25 teaspoons) of active dry yeast works perfectly. It helps the dough rise.
- Salt: Incorporate 1 teaspoon to enhance flavor. Salt also strengthens the dough structure.
- Sugar: Add 1 tablespoon of sugar to feed the yeast and boost flavor. Honey or maple syrup can work as good alternatives.
- Oil or Butter: Use 2 tablespoons of vegetable oil or melted butter for richness in taste and texture.
Useful Tools and Equipment
- Mixing Bowl: A sturdy mixing bowl holds the ingredients while mixing and rising.
- Measuring Cup and Spoons: These ensure accurate measurements for consistency every time.
- Wooden Spoon or Spatula: Use to mix and blend the ingredients effectively.
- Campfire Pot or Dutch Oven: These pots conduct heat evenly and can be used for baking directly over coals.
- Heat-Resistant Gloves: Keep your hands safe when handling hot cookware.
- Long Skewers or Sticks: If you prefer making dough twists or bread on a stick, sturdy skewers or straight branches do the job well.
Preparing these ingredients and tools sets the stage for a memorable campfire bread experience. Enjoy the process of creating something delicious while surrounded by nature.
Techniques for Baking Bread Over a Campfire
Baking bread over a campfire brings a unique thrill to outdoor cooking. I often use different techniques depending on available resources and desired results. Here’s how I approach both direct and indirect cooking methods.
Direct Method of Cooking
Using the direct method involves cooking bread directly over the flames. I shape the dough into flat cakes or use skewers to make twisted bread sticks. Here’s how I do it:
- Prepare the Fire: Build a strong fire and allow it to burn down to glowing coals for better heat control.
- Shape the Dough: Form the dough into flat discs or wrap it around a skewer to create bread sticks.
- Cook Over Flames: Hold the shaped dough above the coals. Rotate it frequently to ensure even cooking and prevent charring. Cooking times vary, but I usually check for a golden crust and a firm texture.
- Monitor Closely: Stay attentive to avoid overcooking. The combination of flames and glowing coals can lead to swift changes in temperature.
Indirect Method of Cooking
The indirect method lets me achieve even, thorough baking when I’m cooking larger loaves. This method tends to produce heartier, more rustic bread. Here’s my approach:
- Create a Bed of Coals: Allow the fire to burn down until it produces a consistent bed of coals, providing steady heat.
- Use a Dutch Oven or Campfire Pot: I place the shaped dough inside a well-greased Dutch oven. Cover it with a tight-fitting lid.
- Place Over Coals: Set the Dutch oven on a flat surface of coals and add more coals on top of the lid. This setup creates an oven-like environment that promotes even baking.
- Adjust Cooking Time: Baking typically takes 20-30 minutes, but I check for doneness by tapping the bottom of the loaf; a hollow sound indicates it’s ready.
Using these techniques allows me to enjoy the fruits of my labor while immersed in nature’s beauty. Baking bread over a campfire serves as a perfect way to savor my camping adventures and share delicious moments with friends and family.
Tips for Perfect Campfire Bread
Baking bread over a campfire is a rewarding experience. A few tips can help ensure each loaf turns out perfectly.
Timing and Temperature Control
Timing and temperature are crucial for baking campfire bread. I often preheat my campfire by letting it burn down until I get a nice bed of glowing coals. This setup provides steady heat. For direct cooking, I keep the bread about 8-12 inches above the flames; for larger loaves, I place the Dutch oven on the coals for about 20-30 minutes. I check the bread frequently to avoid charring, tapping the bottom for doneness. An even golden crust signals it’s ready to be enjoyed.
Enhancing Flavor and Texture
Enhancing the flavor and texture of my campfire bread adds a special touch. I often use fresh herbs like rosemary or thyme mixed into the dough for added aroma. Incorporating seeds, such as sesame or sunflower seeds, gives a nice crunch. For sweetness, I might add honey or brown sugar for a richer taste. Experimenting with different types of flour, like whole wheat or rye, creates unique flavors and textures, making every baking session an adventurous culinary journey.
Conclusion
Baking bread over a campfire is more than just cooking; it’s about creating cherished memories and enjoying the great outdoors. There’s something magical about the combination of fire and dough that makes every loaf special.
I’ve found that sharing this experience with friends and family brings everyone closer together. Whether you’re roasting dough on a skewer or using a Dutch oven, the joy of pulling a warm loaf from the fire is truly rewarding.
So grab your ingredients and gear, light that fire, and let the adventure begin. I can’t wait to hear about your own campfire baking stories!


